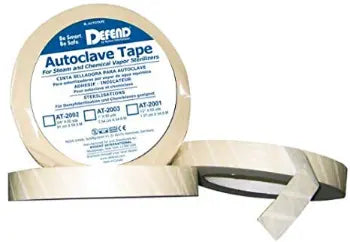

Autoclaving tape
Autoclaving tape
 ORDER ON WHATSAPP
✔ Pay on Delivery available
✔ Pay via M-Pesa on checkout
✔ Nationwide delivery via trusted courier partners
💬 Not sure about delivery? Chat with us on WhatsApp
Couldn't load pickup availability
Autoclaving tape is a heat-sensitive adhesive tape used to indicate whether materials have been exposed to the sterilization process in an autoclave. Here's how to use it properly:
Steps for Using Autoclaving Tape
Prepare the Items for Sterilization
Wrap instruments, labware, or medical tools in sterilization paper, pouches, or cloth as required.
Ensure that the package is properly sealed.
Apply the Tape
Cut a piece of autoclave tape and firmly place it on the outside of the package or container.
Make sure it sticks properly to ensure visibility after processing.
Load the Autoclave
Arrange the items inside the autoclave chamber, ensuring proper spacing for steam penetration.
Run the Autoclave Cycle
Set the autoclave to the recommended time, temperature, and pressure based on the items being sterilized.
Check the Tape After Sterilization
After the cycle, inspect the autoclave tape. If properly processed, the tape's indicator markings (often black or dark brown stripes) will have changed color, confirming exposure to the sterilization process.
If the markings haven't changed, this could indicate an issue with the autoclave cycle.
Remove & Store the Items
Let the sterilized items cool before handling.
Store them in a clean environment for future use.
Important Notes
Autoclave tape does NOT confirm sterilization, only exposure to heat.
For complete verification, use biological or chemical indicators.
Make sure the tape is specific for steam sterilization (some tapes are for dry heat or gas sterilization).
Do not reuse tape—use a fresh piece for each cycle.